
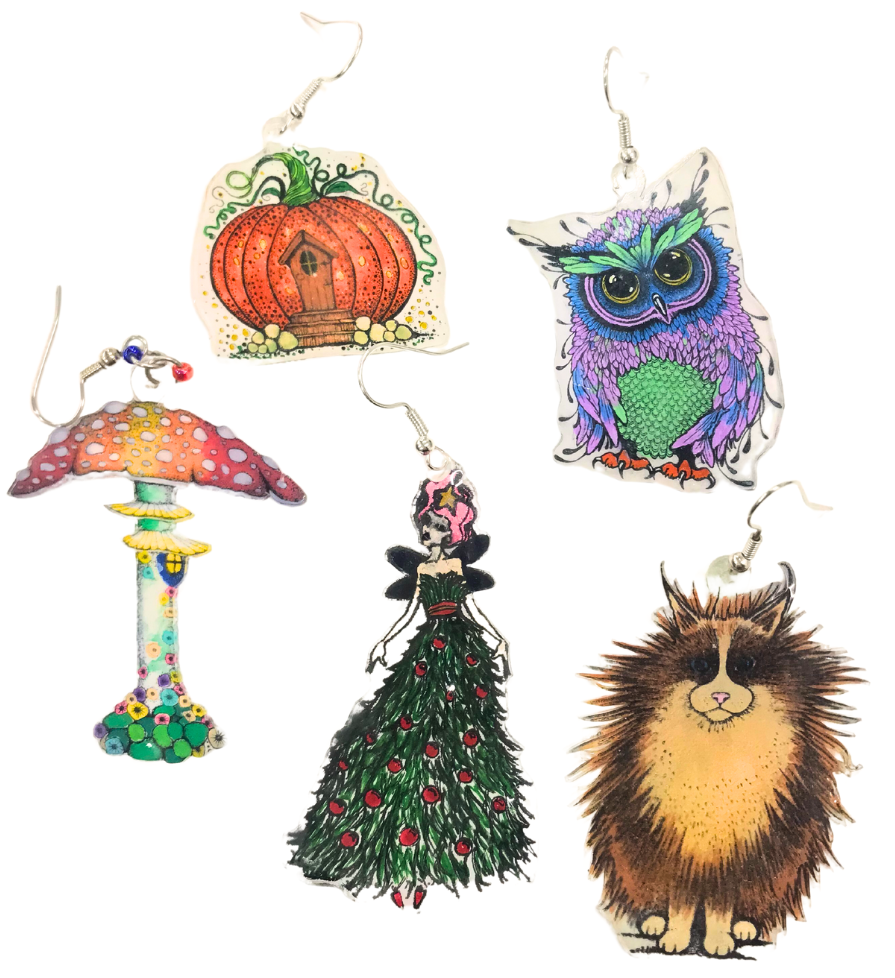
These gorgeous earrings are simple to make, and you can use any stamp you like, although ensuring the image is a decent size so that your shrunk earrings are still big enough to see.
Start by making sure the rough side of the Shrink Plastic is facing upwards. Then stamp the chosen image twice using Archival ink.
Next colour the image with preferred medium. Posca paint pens were used on the samples. (Once the paint is dry you can use the top of a Posca pen to draw a circle above the image where you would like the hole to be punched).
Roughly cut both images out from the sheet. This is done so the images are more manageable to fussy cut and leaves less chance of the plastic cracking. Once you finish fussy cutting around the image including the circle at the top, punch a hole in the circle, leaving approx. 2mm around the top & sides of the circle.
Next is the fun and magical part - the shrinking! Have a big acrylic block or heavy object ready. Heat the images with a heat tool one at a time. They will curl up into a ball but keep the heat on them as they will uncurl fairly quickly. As soon as they flatten out place the acrylic block on top to help flatten the edges.
Once cooled, attach the earring findings (the shiny side is the right side).
Its all trial and error as no 2 will turn out exactly the same.
Hints & tips.
- Use a ¼” punch for the hole.
- Have a skewer or tweezers ready to open the hole just in case it does not shrink into a round shape. Do this before placing the heavy object on them.
Have fun experimenting and making all kinds of earrings, it is a great way to make a personalised gift!
Comments